



What Are the 5 Steps of Injection Moulding?
The five core steps of injection moulding are clamping the mould, injecting molten thermoplastic material, applying holding pressure, cooling the component and ejecting the finished part. These steps form one repeating moulding cycle. Material preparation, process monitoring and quality inspection take place around the moulding cycle and are equally important to reliable production.
Step 1: Clamping the mould
The two halves of the mould tool close inside the injection moulding machine and are held together by clamp force. The force must be sufficient to resist cavity pressure; otherwise the tool can open slightly and create flash. The moulding machine, mould tool and projected component area must therefore be correctly matched.
Step 2: Injecting the molten polymer
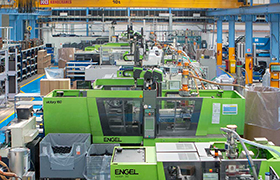
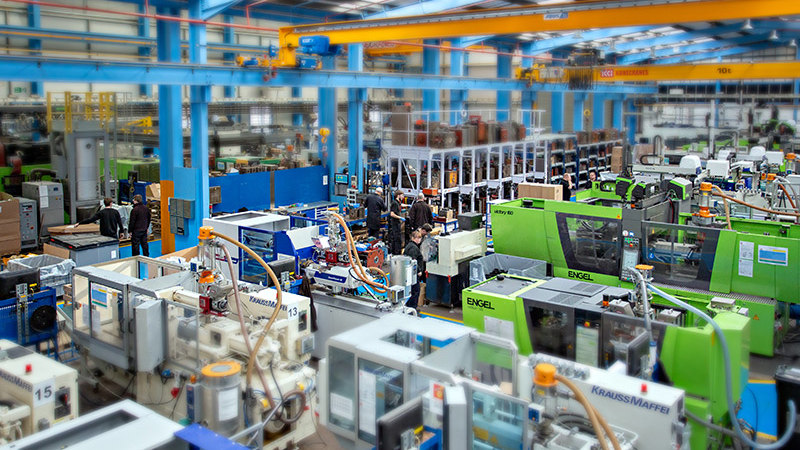
Plastic granules (nurdles) are fed into a heated barrel, where a rotating screw conveys, compresses and melts the material. The screw then moves forward and injects a measured shot through the nozzle, runner and gate into the cavity. Injection speed, pressure and melt temperature affect filling, surface finish and internal stress.
Step 3: Holding and packing
After the cavity appears full, holding pressure continues to feed material while the polymer contracts. This helps control part weight, dimensions and sink marks until the gate freezes. Too little packing can leave voids or sinks; excessive pressure can create stress, flash or difficult part ejection.
Step 4: Cooling the component
The polymer solidifies as heat transfers into the mould and cooling system. The part must become rigid enough to eject without distortion, but excessive cooling wastes cycle time. Wall thickness, polymer selection, tool temperature and cooling-channel layout influence this stage. Good cooling design is central to both quality and cost.
Step 5: Opening and ejecting the part
The clamp opens and ejector pins, sleeves, a stripper system or automation remove the component. The design needs sufficient draft and a suitable ejection arrangement to avoid drag marks, deformation or damage. The mould then closes and the next cycle begins.
What happens before the five-step cycle?
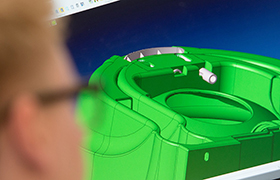
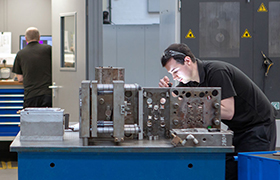
Engineers confirm the material, dry it where required, install the tool, connect temperature controls, set the process and produce start-up samples. The product and tool must already have been developed through appropriate design for manufacture support, injection mould tool services and trials. These preparations determine whether the repeating cycle will be stable.
How is quality controlled during moulding?
Process parameters may be monitored alongside part weight, dimensions and visual condition. The agreed quality plan should focus on features that affect fit, function, safety and appearance. Rutland Plastics has achieved ISO9001 and ISO13485 quality standards and controls to ensure that the plastic part meets the agreed quality plan.
What can happen after ejection?
Parts may be separated from a cold runner, inspected, machined, welded, printed, glued, assembled or packed. Rutland Plastics offers these additional manufacturing services and can manage the route through to finished assemblies and warehousing. To discuss a production requirement, speak to the Rutland Plastics team.
FAQs
It can range from seconds to several minutes depending on part size, wall thickness, polymer, tool cooling, machine and quality requirements.
Cooling often occupies the largest portion of the cycle, particularly for thick or large components.
Injection pressure fills the cavity; holding pressure then compensates for shrinkage while the gate remains open.
Possible causes include insufficient draft, surface condition, shrinkage onto a core, poor ejection design, damage or unsuitable process settings.
